Role based Access Control(RBAC)
A2 Users privileges are controlled using RBAC. Privileges are categoried as Read Only(ro), Execute(ex), Edit(ed) and Admin(ad).
A2 User's Access can be granted or deleted using Command Line or Web Interface.
A2 RBAC - Command Line
Creating Access
a2ctl create access for user [UserName] on app [AppName] with [ro,ex,ed,ad]
where,
UserName - System User to provide access on A2
AppName - AppName to provide access for
ro - Read Only Access
ex - Execute Access
ed - Edit Access
ad - Admin Access
Deleting Access
a2ctl delete access for user [UserName] on app [AppName]
where,
UserName - System User to delete access
AppName - AppName to delete access for
A2 RBAC - Web Interface
Creating Access
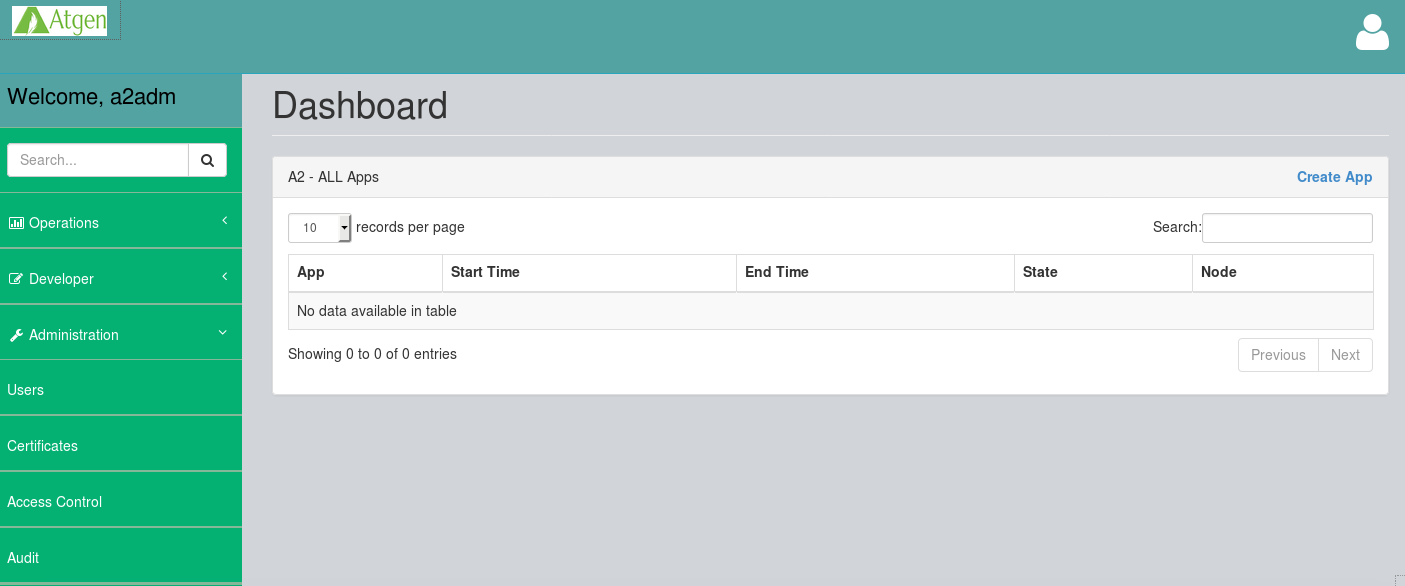
As you login to A2 - Web Interface, you will see Dashboard. Click on "Access Control" under "Administration" section:
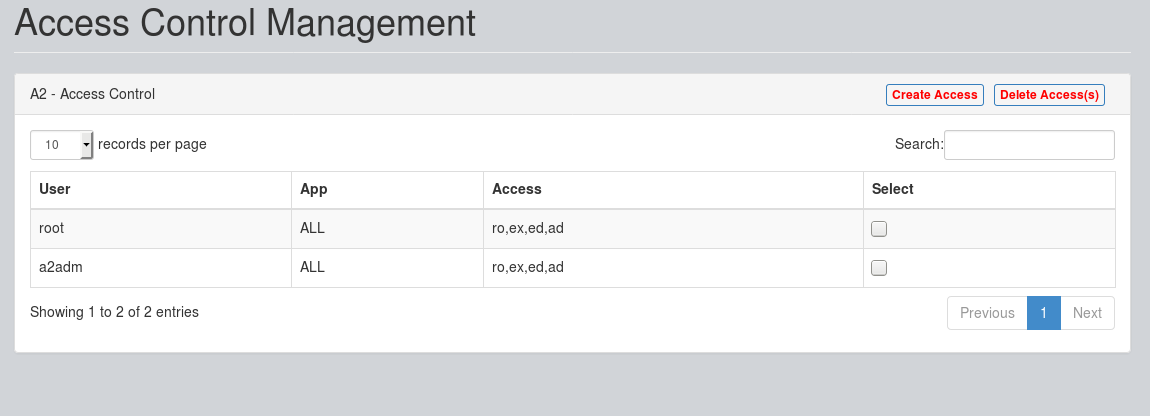
This will open "Access Control" section. Click on "Create Access" as shown below:
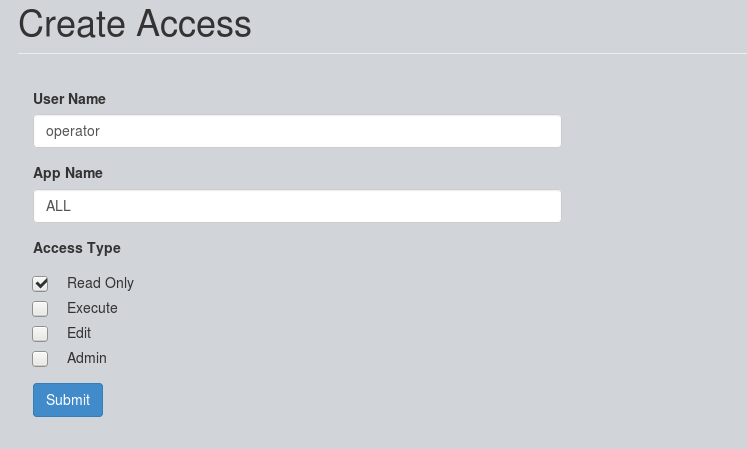
Enter the User Name, App Name, Select Access Type and click on "Submit":
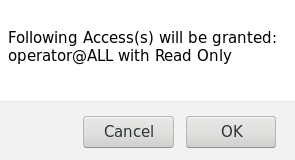
This will ask for confirmation. Click on "OK" as shown below:
Now, the Access will be created as shown below:
Deleting Access
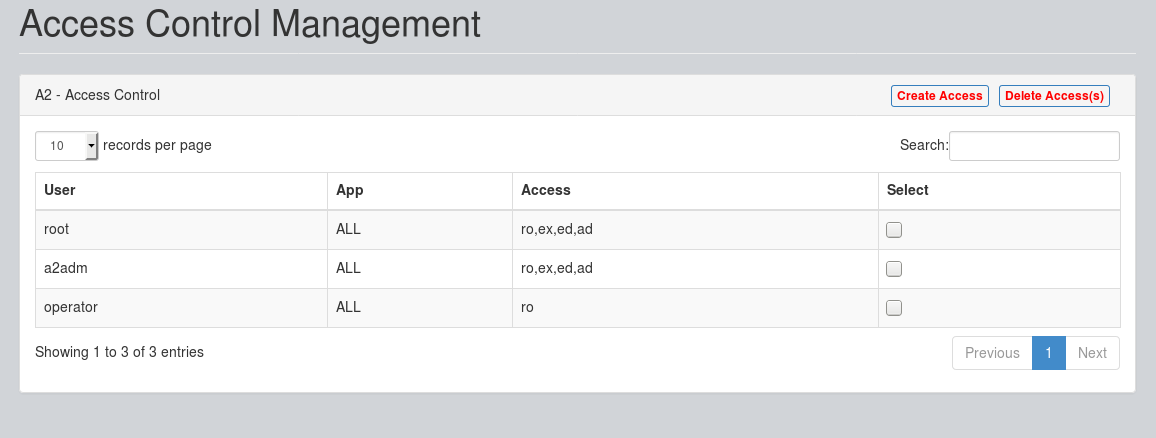
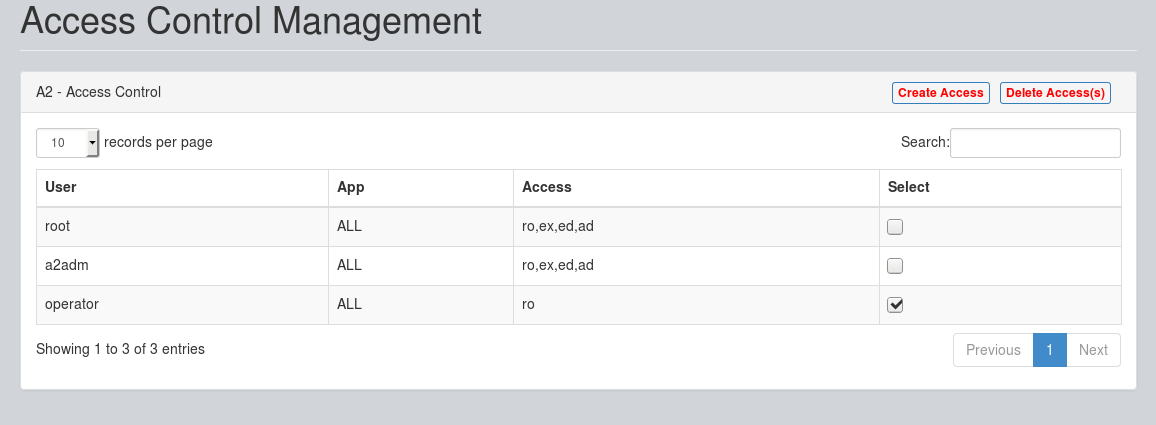
On A2 - Web Interface, under Administration -> Access Control, Select the "Access Details", and press "Delete Access(s):
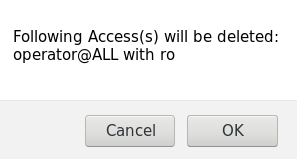
This will ask for confirmation. Click on "OK" as shown below:
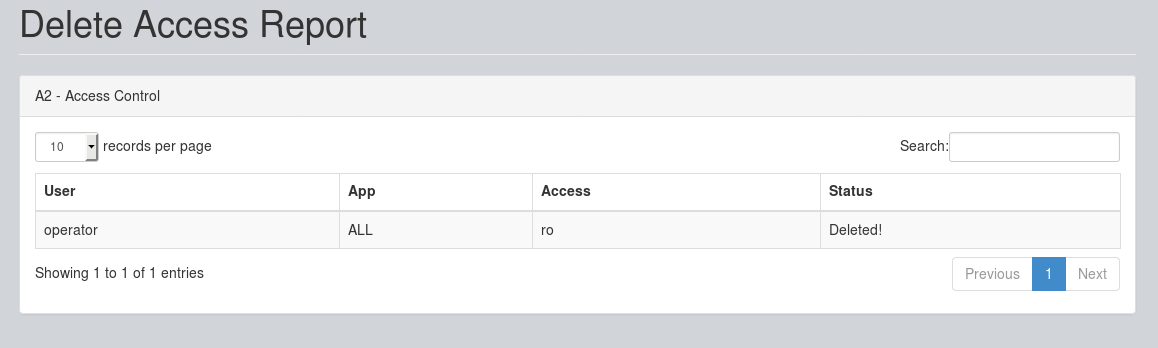
Now, the Access(s) will be deleted as shown below:
A2 on GitHub
You may also wish to follow the GitHub project if you have a GitHub account. This is also where we keep the issue tracker for sharing bugs and feature ideas.